Navigating the Candidate Profile
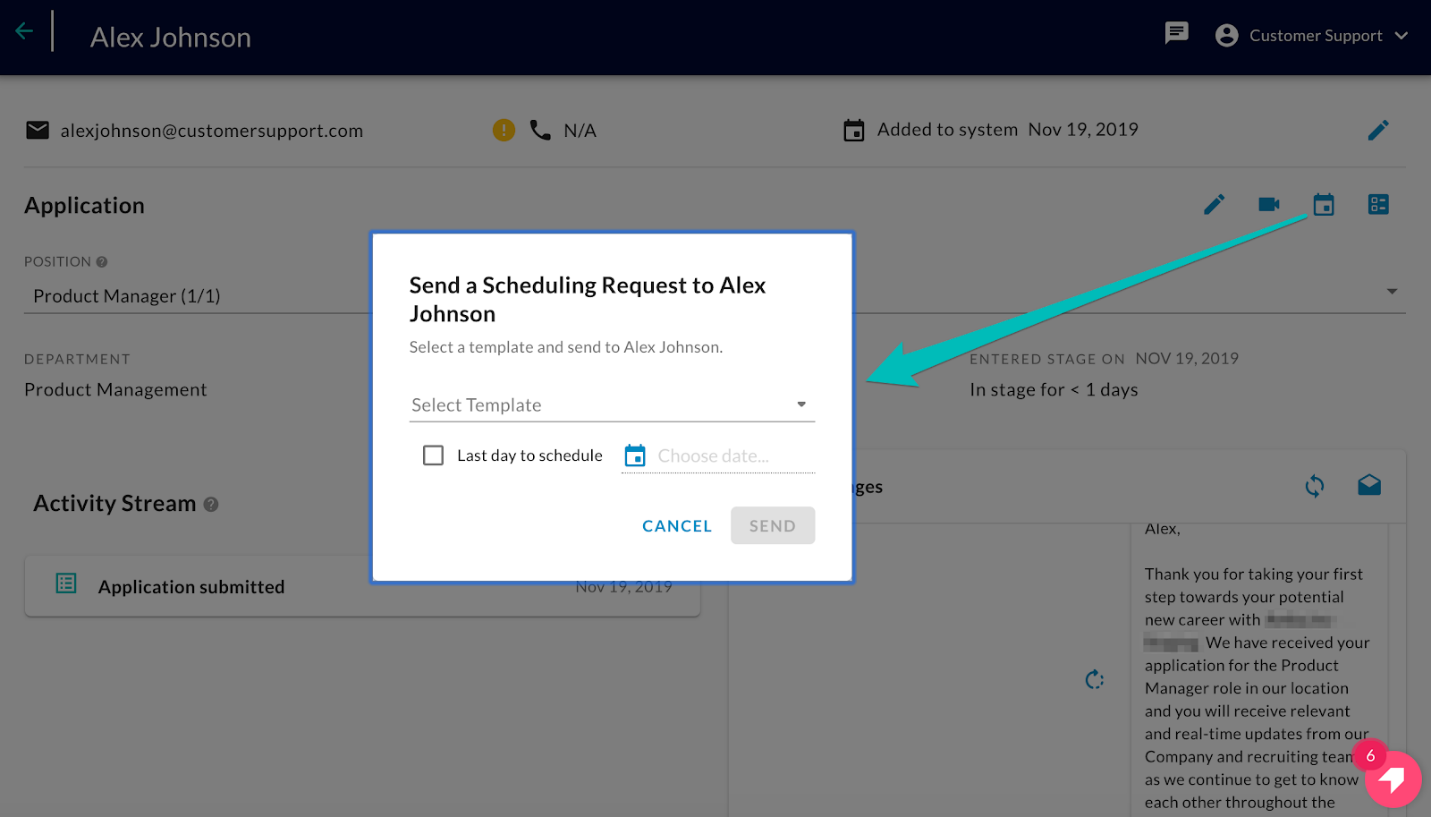
The "Candidate Profile" page will allow you to:
- View Basic details of the candidates and each application them
- View Activity Stream of events
Navigation to a Candidate Profile
You can start by selecting a Candidate from the candidate pool. This will show you the candidate details: Candidate Name, Email, Phone, and Date when added to the system.
Job Application Selection
This will give you a dropdown to select a specific job application for a candidate. Information is contextual to the selected job application:
- Position Applied to
- Department
- Stage (current stage)
- Date/Time Entered stage
- Candidate Tags
- Attributes
- Activity Stream
Candidate Tags
This will show you the list of tags associated with the currently selected job application. Examples of tags can be a specific skill or certification that a candidate has. Recruiters can tag candidates within the ATS.
ATS Integration: For each candidate retrieved, a list of tags will also be retrieved and associated with the candidates. These tags can then be used as part of triggering a path within a journey
Activity Stream
The activity stream will show you a historical list of specific actions taken on that candidate within ConveyIQ. These actions are related to candidate On-Demand, Scheduling and Survey events.
Sending One-Off Messages
In some instances, recruiters may want to invoke actions outside of the journey or if they do not feel comfortable invoking them through the automation within a journey. They would select one or more candidates and a list of actions that can be taken on the candidates appear above the grid.
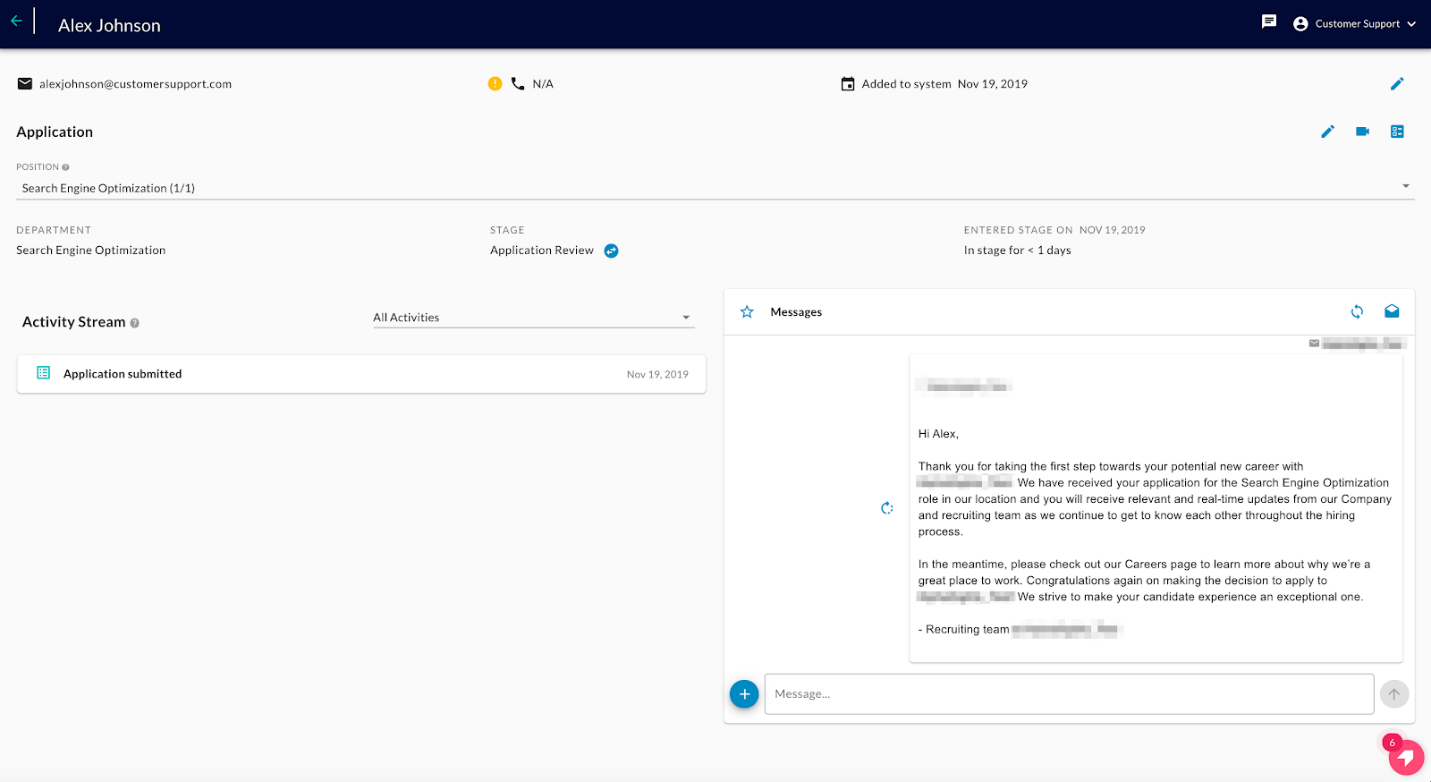
Send On-Demand
To send an On-Demand template, you can select an On-Demand template and an On-Demand invitation would be sent to the selected candidate after clicking the send button.
Send Survey
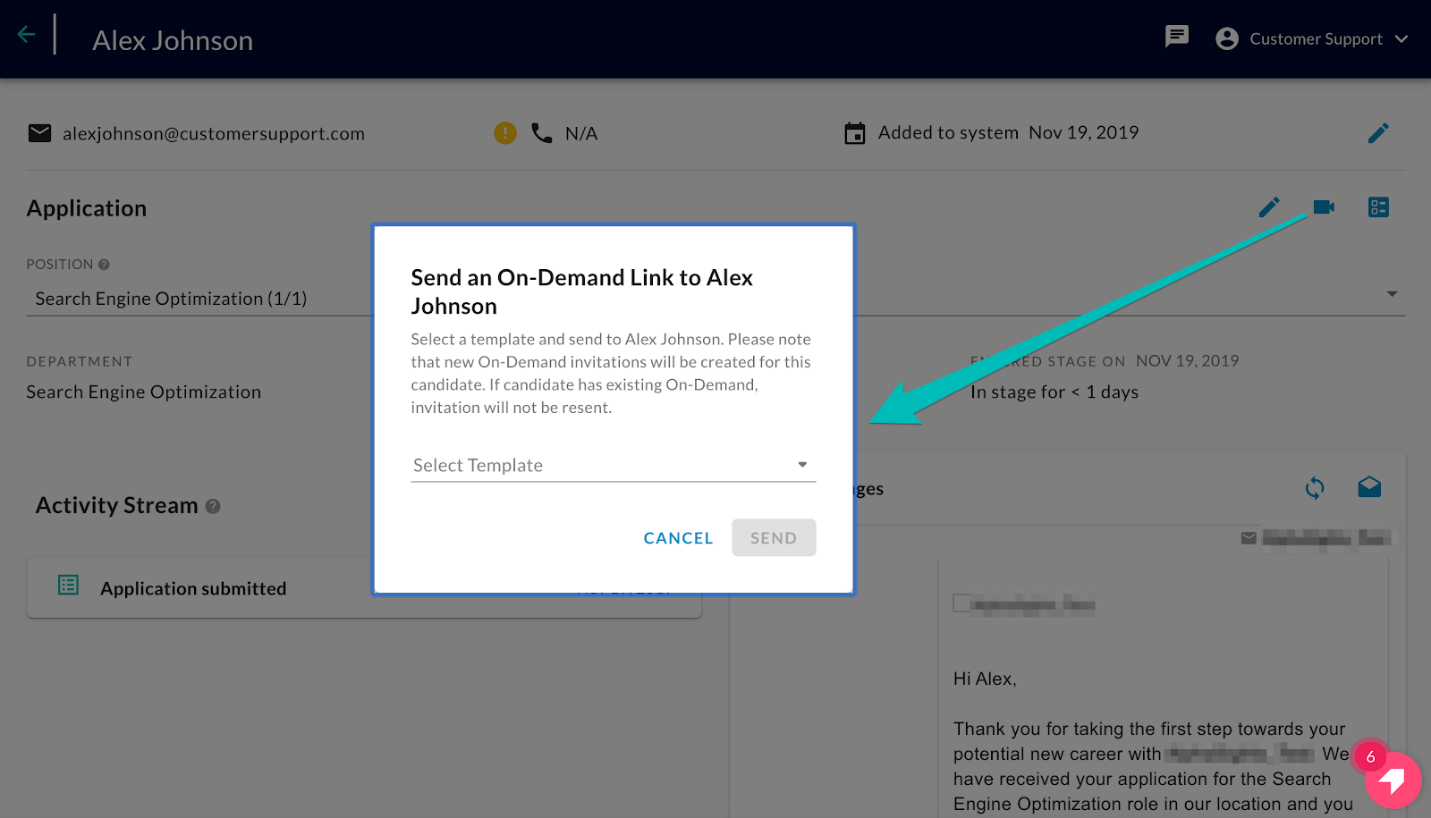
To send a survey to a candidate, you should click on the notebook icon on the right-hand side of the page and confirm to send the Candidate Survey to the selected candidate by clicking the send button.
Send Scheduling Request
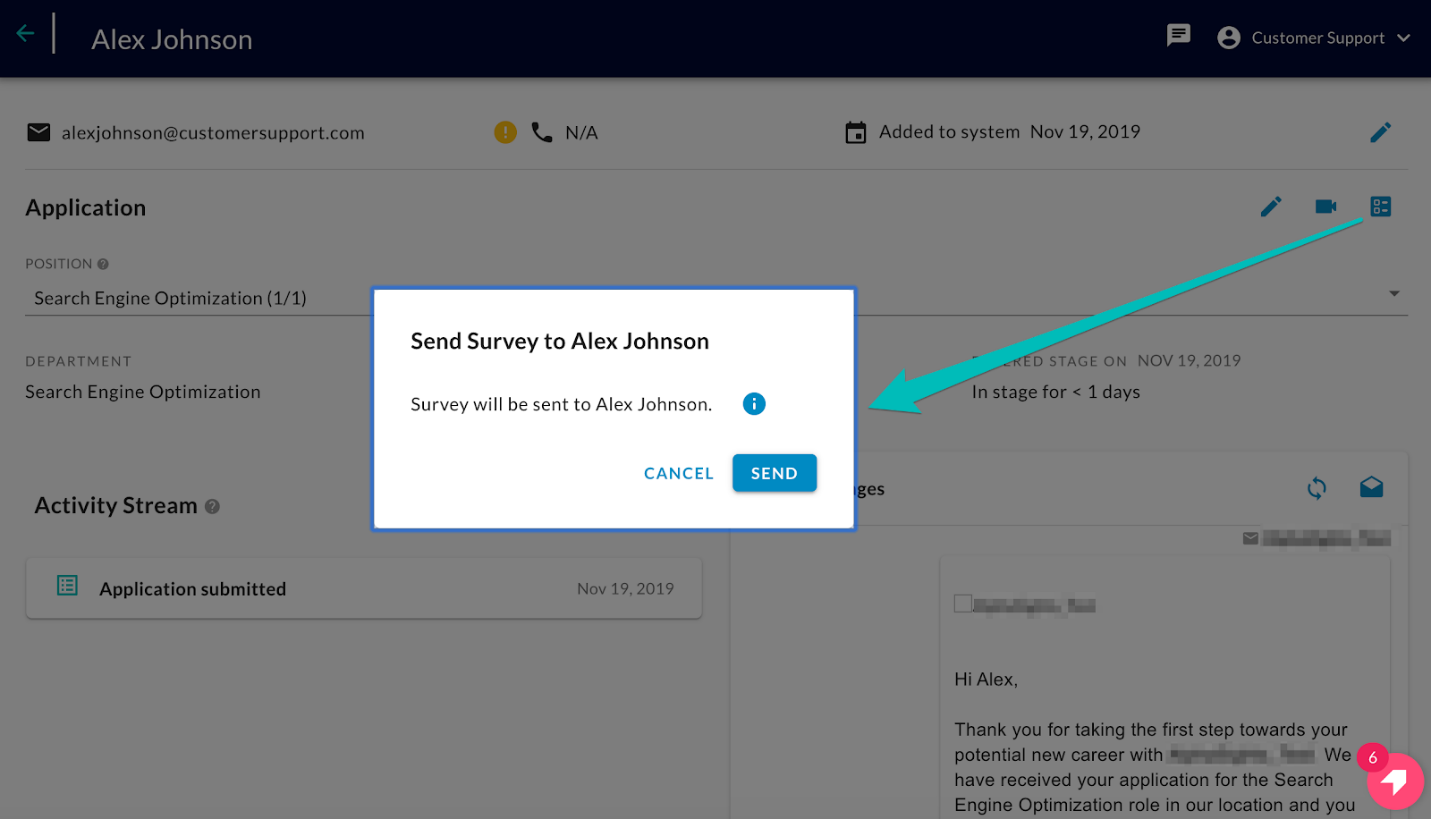
To send a scheduling request, select a Scheduling template icon and a Scheduling request will then be sent to the selected candidate after clicking the send button.