Step 3: Upload the file
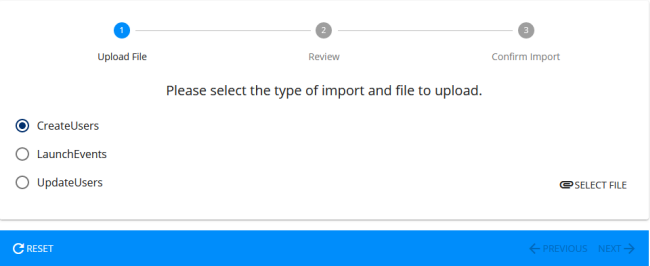
In this step, you upload the template (file) that you populated with data.
Key info
- Uploading does not process the records in the file. It uploads the file so that it is available for processing in step 5.
- The system performs validation on the uploaded file. Validation includes checking for mismatched data, verifying fields contain data (are not blank), verifying dates field are numeric, and so on.
- If a file fails validation, an error message appears.
- From the Imports List, click New Import.
- Select an import type.
- Click
 .
. - On the pop-up, navigate to the template on your computer and select it. The system displays the file you selected.
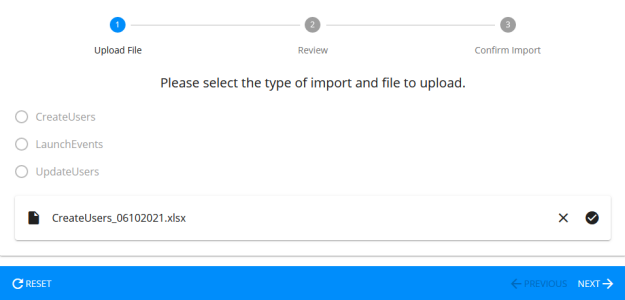
- Beside the file, click
 to upload. If the file uploads successfully, a success message appears in the upper right. A check icon appears beside the file in the list:
  If it does not upload successfully, an error message appears in the upper right. An alert icon appears beside the file in the list:
  (Click X to remove the file. Open the file on your computer and correct errors, then upload it again until no errors.)
 - After the file uploads successfully, click Next.