Adding, arranging, and editing elements
Adding an element to a Form
When you click the Basic, Advanced, or Quick Start Library labels, a list of elements opens. To place an element on the Form, click and hold anywhere on the element and drag it to the Form.
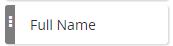
When the element is on the Form, a dotted line shows where the element will be placed when you release the mouse button.
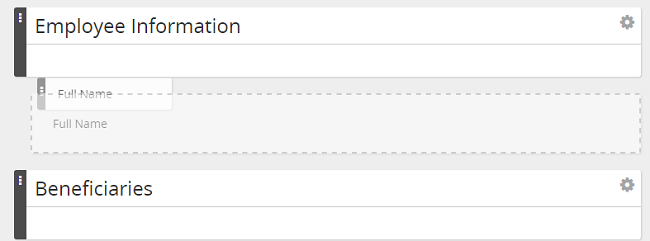
Moving an element on an Form
After it is on the Form, use the ‘handle’ (left edge) to move it up and down.

Placement restrictions
Colors of element handles indicate where an element can be placed.
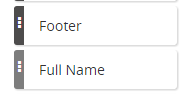
- Dark gray elements can only be placed on the left edge of the Form.
- Light gray elements can be place at the left edge or indented when placed under a section element.
Removing an element from a Form
After an element is on the Form, remove (delete) by selecting the gear icon and clicking Delete. You are prompted to confirm the removal.
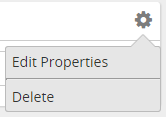
If you delete a section element that has elements within it, they are all deleted.
Editing an element
Click text on an element to edit that text.

Once an element is on the Form, it can be customized by selecting the gear icon and clicking Edit Properties. Each element has its own properties.