Step 5: Confirm and process
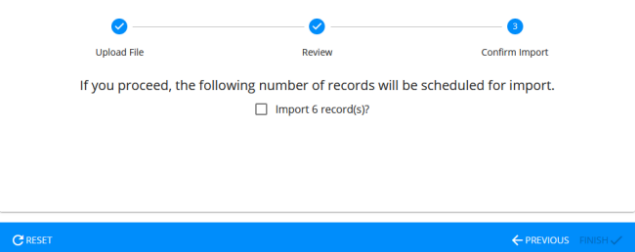
This step processes the records in the uploaded file.
Key info
- This page shows the number of records scheduled for import.
- There is no current method to correct records through the user interface. You must correct in the Excel file and re-upload.
- On the Confirm Import page, click the check box beside the record count.
- Click Finish. The import process begins. A message appears in the upper right:
 When the file is processing, this icon is shown:
  After the file is processed, it moves to the History panel:
 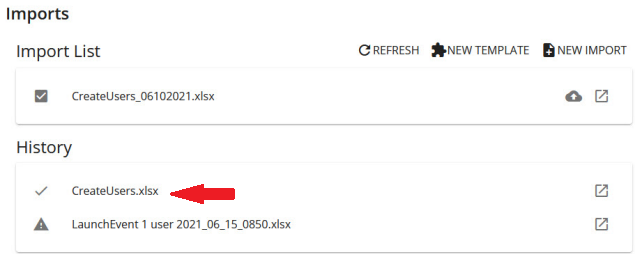 It has a check mark, which means all the records in the file were processed. If a file has an alert icon, it means one or more records did not process.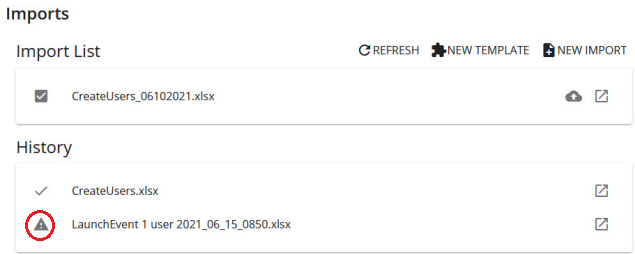
- Click
 to view details. Import details show each record in the file and if they processed successfully: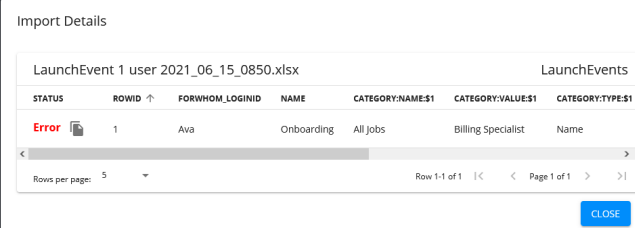
- Hover your mouse over the Error status for error details or click
 to copy and paste the error into a document to analyze.
 - After analyzing the error, open the Excel file and correct the error.
- Re-upload the Excel file with only the rows that had errors that prevented the user from being created or updated.
- Review (validate) the record, confirm, and process.
- Click